
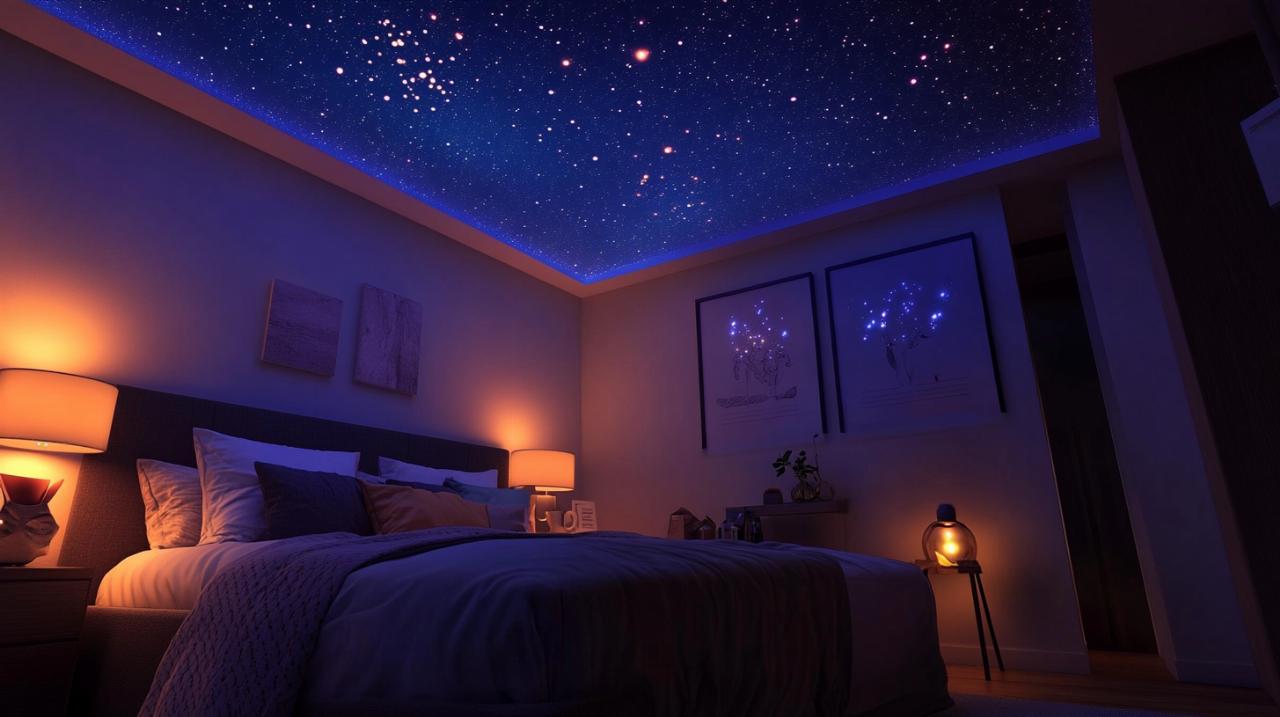
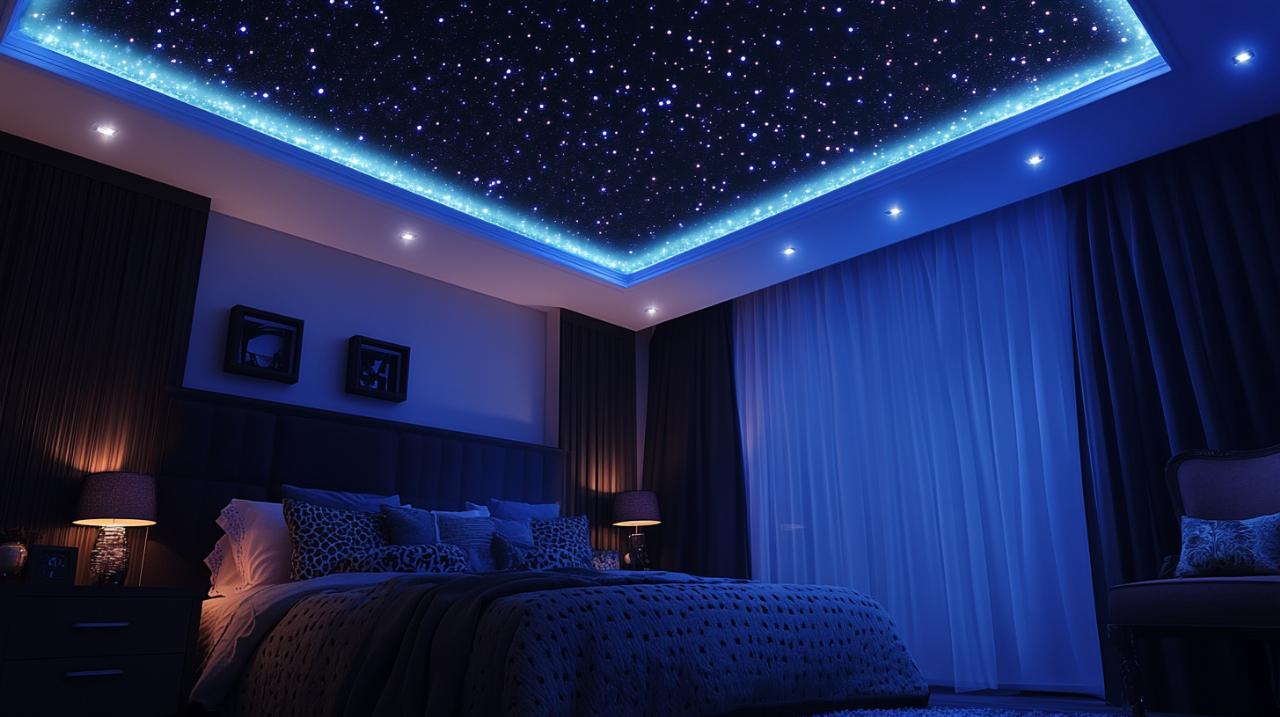
Transforming an ordinary bedroom into a celestial sanctuary has become an increasingly popular home improvement project for those seeking a touch of magic overhead. By combining PVC panels with fibre optic lighting, you can recreate the wonder of a starlit sky right above your bed, offering a soothing and enchanting atmosphere that makes every night feel like sleeping under the cosmos. This undertaking requires careful planning, a modest toolkit, and a willingness to delve into a rewarding DIY challenge that blends carpentry skills with creative lighting installation.
Planning and preparing your starry ceiling project
Gathering the Essential Materials and Tools
Before embarking on this celestial transformation, assembling the correct materials and tools is absolutely essential. The foundation of your starry ceiling relies on a DIY kit that typically includes a light engine, a fibre optic bundle, and sometimes optional drill bits tailored for this specific task. Beyond the kit itself, you will need a reliable cordless drill, various adhesives such as silicone or epoxy glue, side cutters, scissors, and a selection of drill bits to create the tiny apertures that will mimic distant stars. The panel material, often PVC but sometimes plasterboard or acrylic sheets, forms the canvas for your night sky. Additional items such as paint or fabric to finish the visible surface, adhesive spray, cloth tape, felt dots, and marker pens will help you achieve a polished and professional result. Electrical safety is paramount, so ensuring that your lighting circuit operates at the correct voltage with appropriate circuit protection is non-negotiable. Resources from maderascovelo.es and similar home improvement platforms provide valuable insights into the nuances of working with these materials, emphasising the importance of preparation and methodical execution.
Measuring your ceiling and designing your star pattern
Accurate measurement of your ceiling space sets the stage for a successful installation. Begin by determining the exact dimensions of the area you wish to transform, taking into account any architectural features such as light fittings or ceiling roses that might influence the design. Once measurements are recorded, the creative phase begins with designing your star pattern. A density of fifty to one hundred fibres per square metre is generally recommended to achieve a realistic starry effect without overwhelming the eye or creating an overly bright display. You can opt for a random celestial arrangement that mimics the natural chaos of the night sky, or follow a specific star map to replicate constellations. Marking these star points on your panel with precision ensures that the final effect will be evenly distributed and visually pleasing. This stage requires patience and a steady hand, as the placement of each mark will determine the final appearance of your dreamy bedroom ceiling.
Building the Frame and Installing the PVC Base
Constructing a Sturdy Timber Frame for Your Ceiling
The structural integrity of your starry ceiling depends on a robust timber frame that can support the weight of the PVC panels and accommodate the fibre optic components. Constructing this frame involves cutting timber to the precise dimensions of your ceiling, ensuring that all joints are secure and level. The frame should be designed to fit snugly within the existing ceiling space, or if access above the ceiling is limited, you may need to create a suspended frame that hangs below the original surface. Reinforcing the boards and ensuring that the frame can bear the load without sagging is crucial, as any movement or instability will compromise the overall effect. This carpentry work demands attention to detail and a good understanding of basic woodwork principles, making it an excellent opportunity to hone your skills in home improvement and DIY construction.
Cutting and Fitting PVC Panels Within the Frame
With the frame securely in place, the next step involves cutting the PVC panels to fit precisely within the timber structure. PVC is a favoured material for this application due to its lightweight nature, ease of handling, and smooth surface that readily accepts drilling and finishing treatments. Measure each section of the frame carefully and transfer these dimensions to your PVC sheets, then cut them using a sharp utility knife or a fine-toothed saw to ensure clean, straight edges. Once cut, the panels should slot into the frame with minimal gaps, creating a seamless base for your starry effect. Before permanently fixing the panels, it is wise to prepare the visible side by painting it a deep, dark colour or applying a fabric covering that enhances the illusion of a night sky. Adhesive spray works well for attaching fabric, while a matte black paint provides a classic backdrop that allows the star points to shine with maximum contrast. This stage blends practical construction with aesthetic considerations, transforming raw materials into a surface ready to host your fibre optic installation.
Creating the Starry Effect with Fibre Optic Lighting
Drilling Holes and Threading Fibre Optic Strands Through the PVC
Creating the individual star points involves drilling numerous small holes through the PVC panel at each of the marked locations. The diameter of these holes should match the thickness of your fibre optic strands, allowing them to pass through snugly without excessive play. A cordless drill fitted with the correct drill bit makes this task manageable, though it requires a steady hand and consistent pressure to avoid cracking or damaging the panel. Once all the holes are drilled, the process of threading the fibre optic strands begins. Each strand is pushed through its corresponding hole from the back of the panel, with varying lengths used to create different brightness levels and a more dynamic starry effect. This variation mimics the natural appearance of stars at differing distances, adding depth and realism to your celestial display. Securing the fibres with small dabs of glue on the reverse side prevents them from slipping back through the holes and ensures they remain in place over time. This meticulous work is time-consuming, with an installation covering approximately three square metres and two hundred fibres taking around eight to nine hours to complete, but the result is a stunning and personalised night sky that rewards your patience.
Connecting the Fibres to the Illuminator and Testing the Light
After all the fibre optic strands are threaded and secured, they must be gathered together and connected to the light engine, also known as the illuminator. This component is the heart of your starry ceiling, projecting light through the fibre optic bundle to create the glittering effect. Carefully bundle the loose ends of the fibres and insert them into the port of the light engine, ensuring that they are evenly distributed and firmly seated. Some advanced kits feature dual ports, allowing you to power two separate panels from a single light engine, which is a practical solution for larger rooms or multiple ceiling sections. Before permanently fixing the panel to the frame, it is essential to test the lighting to confirm that all the star points are illuminated correctly and that the brightness levels meet your expectations. This testing phase allows you to make any necessary adjustments, such as trimming fibres to achieve uniform brightness or repositioning any that may have slipped during installation. The illuminator should be placed in a location that is dry, well-ventilated, and easily accessible for maintenance, as the operating temperature range typically falls between zero and forty degrees Celsius and moisture must be kept at bay to prevent damage.
Finalising the Installation and Concealing the Components
Hiding the Light Source and Wiring Behind the Panel
Concealing the technical components is vital for achieving a clean and professional finish. The light engine and associated wiring should be hidden behind the PVC panel, either within the ceiling void if access is available or in a discreetly constructed enclosure if the panel is surface-mounted. Cable management is an important consideration, as loose wires can be both unsightly and a potential safety hazard. Use cloth tape or cable clips to secure the wiring neatly along the back of the panel, routing it away from any sharp edges or areas where it might be pinched. Ensuring that the electrical connection meets all safety standards is non-negotiable, with the lighting circuit requiring a proper connection to a two hundred and thirty volt supply protected by a six ampere miniature circuit breaker. If you are not confident in your electrical skills, consulting a qualified electrician is a prudent step to guarantee both safety and compliance with regulations. The rear of the panel should be tidied up with any excess fibre trimmed away and any adhesive residue removed, leaving a clean and professional appearance that reflects the care taken throughout the installation.
Mounting the complete starry ceiling frame securely
With the lighting tested and all components concealed, the final step is to mount the complete starry ceiling frame securely to your existing ceiling. This involves fixing the timber frame in place using appropriate screws or fixings, ensuring that it is level and firmly attached to the ceiling joists or other structural supports. The weight of the frame, panel, and lighting components must be adequately supported to prevent any risk of sagging or detachment over time. Once the frame is in position, any visible screw heads can be covered with felt dots or painted over to blend seamlessly with the panel surface. The fibre optic strands protruding through the PVC panel can now be trimmed to the desired length, with a flush cut creating a subtle, twinkling effect or a slightly longer cut producing a more pronounced star point. After all the trimming and finishing touches are complete, you can switch on the lights and enjoy the magical transformation of your bedroom ceiling. The gentle glow of the fibre optic stars creates a soothing and enchanting atmosphere, turning your personal space into a dreamy retreat that captures the wonder of a clear night sky.