Transforming the appearance of your home's exterior can be a truly rewarding endeavour, and freshening up tired zinc gutters is an excellent place to start. Whether you're aiming to match your guttering to newly painted trim or simply seeking to breathe new life into weathered metal surfaces, painting zinc gutters requires a thoughtful approach. This guide will walk you through the essential steps, from initial surface preparation to applying that final glossy topcoat, ensuring a durable and attractive finish that will protect your rainwater systems for years to come. With the right decorating supplies and a bit of patience, even beginners can achieve professional-looking results that enhance the overall kerb appeal of their property.
Preparing your zinc gutters for painting
The foundation of any successful exterior painting project lies in meticulous preparation, and this is particularly true when working with metal surfaces such as zinc guttering. Before you even think about opening a tin of paint, you must ensure that the surface is clean, sound, and ready to accept both primer and topcoat. Skipping or rushing through these preparatory stages will almost certainly lead to disappointing results, with paint that flakes, peels, or simply fails to adhere properly. Taking the time to prepare your gutters thoroughly will pay dividends in the longevity and appearance of the finished work.
Cleaning and Removing Debris from Guttering
Begin by giving your zinc gutters a thorough inspection and cleaning. Over time, gutters accumulate leaves, moss, dirt, and general grime, all of which must be removed before any paint can be applied. Use a stiff brush or a dedicated gutter scoop to clear out loose debris, then wash the entire surface with warm water mixed with a mild detergent. For stubborn areas, a solution containing a small amount of white vinegar can help cut through grease and oxidation. It's essential to rinse the guttering thoroughly with clean water afterwards, ensuring no soapy residue remains. Once cleaned, allow the gutters to dry completely. Any moisture trapped beneath paint layers can lead to blistering and premature failure, so patience at this stage is crucial. If you notice any rust or flaking old paint during your cleaning efforts, use medium-grit sandpaper or a wire brush to remove these problem areas. This mechanical preparation creates a slightly roughened surface that helps the primer bond more effectively. Don't forget to inspect the downpipes and any joints or brackets, as these areas are often overlooked yet equally important. A comprehensive clean not only improves paint adhesion but also allows you to identify any damage or cracks that might require attention before proceeding. For example, if you discover splits or holes, products such as a waterproof sealant can be applied to repair the damage before you move on to priming and painting. This attention to detail during gutter maintenance will ensure your efforts aren't undermined by underlying structural issues.
Selecting the Right Zinc Primer for Metal Surfaces
Choosing an appropriate primer is perhaps the most critical decision you'll make during this project. Zinc and other metal surfaces require specialised anti-rust primer formulations that provide a stable base for subsequent paint layers. A quality primer not only promotes adhesion but also acts as a barrier against moisture and corrosion, significantly extending the life of your paintwork. For zinc gutters, an oil-based metal primer is often recommended, particularly if you're working with older or previously unpainted surfaces. These primers contain rust-inhibiting compounds that chemically bond to the metal, creating a protective layer that prevents oxidation. When selecting your primer, look for products specifically designed for exterior metal applications, as these are formulated to withstand the rigours of the British weather. Brands such as those available through building supplies specialists offer primers tailored for use on cast iron gutters, aluminium gutters, and zinc alike. If your gutters are in particularly good condition and have been previously painted with compatible materials, you may be able to skip the priming stage, but for most situations, applying a dedicated metal primer is a wise investment. Apply the primer using a synthetic paint brush for precision work around brackets and joints, or use a mini roller for larger, flat sections. Ensure even coverage and avoid letting the primer pool in corners or joints, as this can lead to drips and uneven texture. Allow the primer to dry fully according to the manufacturer's instructions before proceeding. This drying period is not merely a suggestion; it's a necessary step that allows the primer to cure and form a robust foundation for your topcoat. Rushing this stage will compromise the entire project, so plan your work around the weather and allow ample time for each layer to set properly. Resources such as those found on villaauristela.es can offer additional insights into surface preparation and priming techniques, particularly when working with metal and composite materials.
Applying paint to your zinc gutters properly
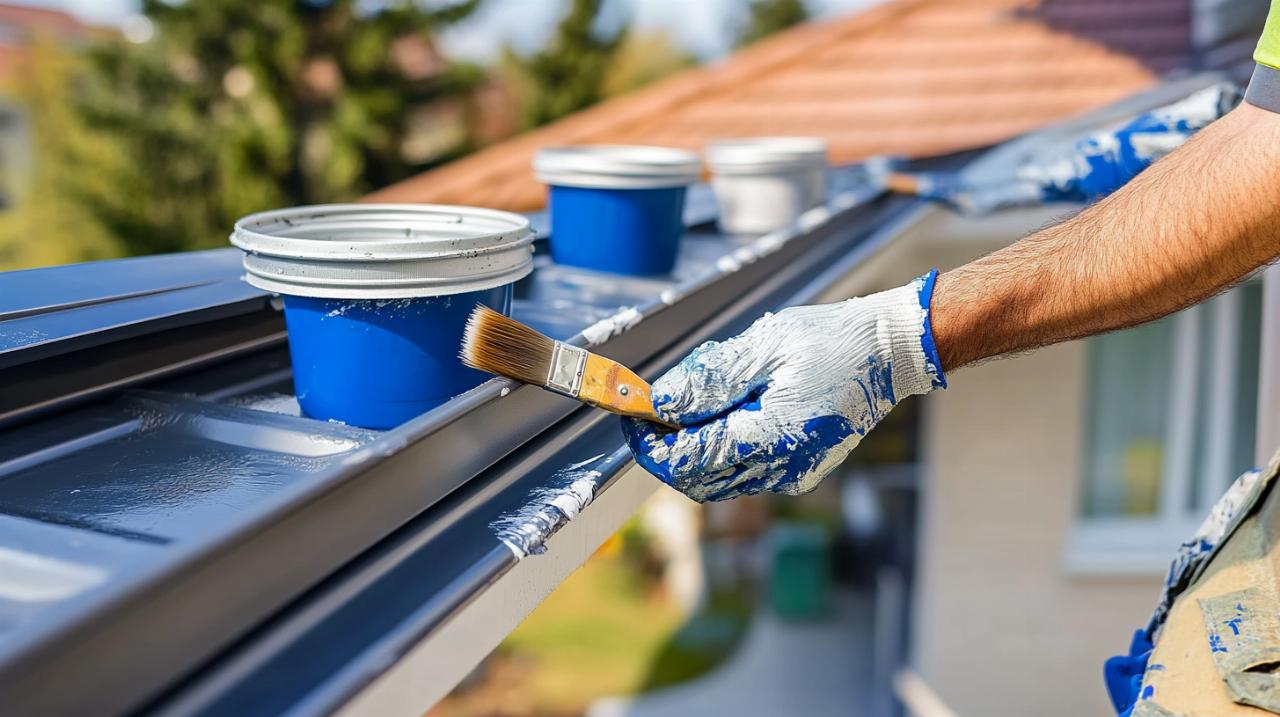
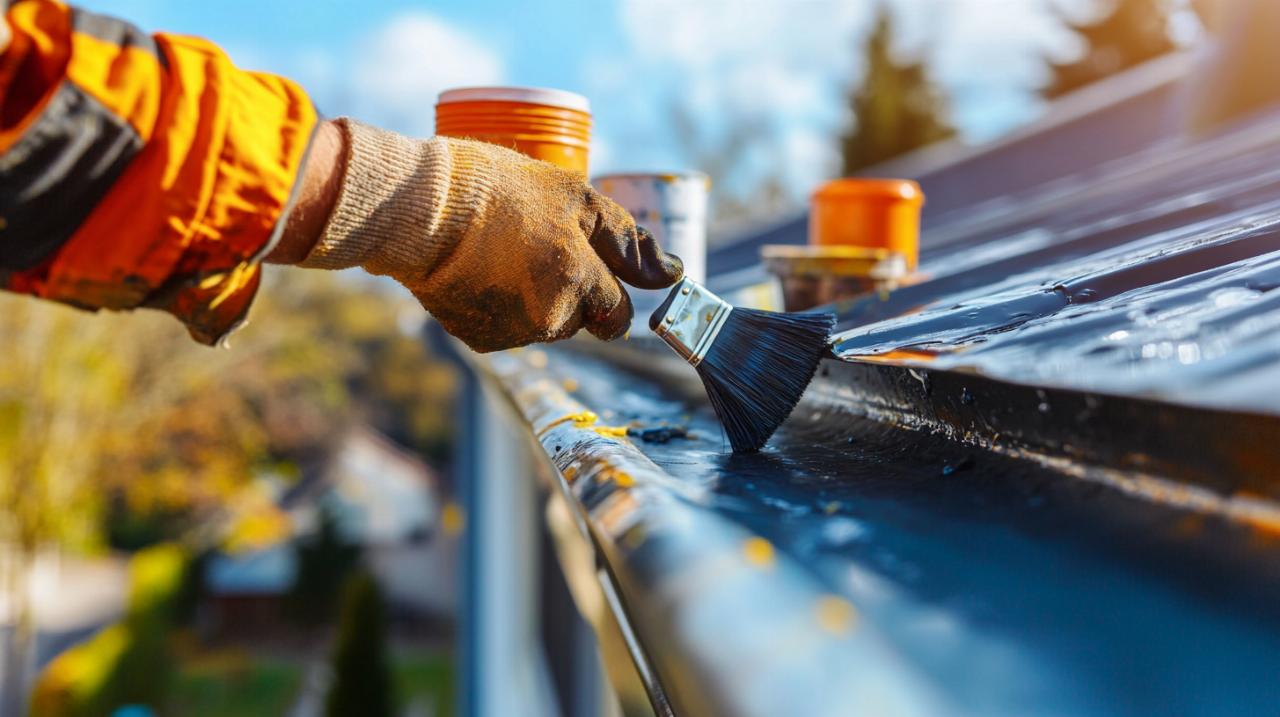
With your gutters cleaned, repaired, and primed, you're now ready to apply the finishing paint layers. This stage is where your careful preparation truly pays off, as a well-primed surface will accept paint smoothly and evenly. However, the quality of your finish depends not only on the groundwork but also on your choice of paint and your application technique. Rushing through the painting process or using inappropriate products can undo all your hard work, so it's worth taking the time to understand the best practices for applying paint to metal guttering.
Choosing quality exterior paint for metal guttering
Selecting the right exterior paint is essential for achieving a durable and attractive finish on your zinc gutters. Not all paints are created equal, and those formulated specifically for metal surfaces offer superior adhesion, flexibility, and weather resistance compared to general-purpose alternatives. For plastic gutters, products such as an all-in-one exterior coating are often recommended, offering excellent coverage and durability. However, zinc and other metal gutters benefit from specialist metal paint formulations that contain anti-rust properties and are designed to expand and contract with temperature fluctuations without cracking or peeling. When browsing through construction materials suppliers, you'll find a range of finishes available, including gloss, satin, and matt. Gloss finishes are traditional for guttering, providing a shiny, reflective surface that repels water effectively and is easy to wipe clean. Satin finishes offer a more subtle sheen, striking a balance between the high shine of gloss and the flat appearance of matt, while matt finishes provide a contemporary, low-reflectiveness look that can complement modern architectural styles. Consider the overall aesthetic of your home when making this choice. Matching your gutter colour to exterior trim is a popular approach, with white remaining a classic favourite, though greys and darker tones are becoming increasingly fashionable. It's worth noting that lighter colours tend to show dirt and weathering less than darker shades, which may influence your decision. Quality exterior paint designed for metal will typically offer UV resistance, ensuring that your chosen colour remains vibrant even after prolonged exposure to sunlight. Many UK delivery services offered by building supplies retailers make it convenient to acquire these specialist products without leaving home, and some even provide free samples so you can test colours and finishes before committing to a full purchase. This is particularly useful if you're unsure how a particular shade will look against your roofing materials or cladding. Investing in a premium-quality paint may cost more upfront, but the improved coverage, durability, and ease of application will save you both time and money in the long run. Remember that gutters and downpipes are constantly exposed to rain, wind, and temperature extremes, so choosing a paint that's up to the challenge is not a luxury but a necessity.
Mastering the Layering Technique and Drying Times
Once you've selected your paint, it's time to apply it, and this is where technique truly matters. The key to a professional-looking finish lies in building up thin, even layers rather than attempting to achieve full coverage in a single coat. Begin by stirring your paint thoroughly to ensure an even consistency, then pour a manageable amount into a paint kettle or roller tray. Using a high-quality synthetic paint brush, start with the edges, brackets, and any intricate details where a roller cannot reach. Work methodically, applying the paint in smooth, even strokes and avoiding overloading the brush, which can lead to drips and runs. For larger, flat sections of guttering, a mini roller offers speed and efficiency, providing a smooth, uniform finish with minimal effort. Apply the first coat sparingly, aiming for consistent coverage rather than opacity. This initial layer acts as a base, filling any remaining minor imperfections and providing a key for subsequent coats. Once the first coat is complete, resist the temptation to apply the next layer immediately. Proper drying times are critical to the success of your project, and rushing this stage can result in a tacky, uneven finish that may never fully cure. Most quality exterior paints will specify a recoat time on the tin, typically ranging from four to six hours depending on temperature and humidity. In cooler or more humid conditions, you may need to allow even longer. Keep an eye on the weather when planning your work. Avoid painting if rain is forecast or if temperatures are expected to drop below the minimum recommended for your chosen product. Similarly, painting in direct, intense sunlight can cause the paint to dry too quickly, leading to brush marks and an uneven finish. Early morning or late afternoon on a mild, dry day often provides ideal conditions. Apply a second coat once the first is fully dry, using the same careful technique. For high-traffic or particularly exposed gutters, a third coat may be advisable, especially if you're covering a dark or heavily weathered surface with a lighter colour. Each additional layer enhances durability and colour depth, so don't skimp on this stage. Between coats, clean your paint brushes and mini rollers thoroughly to prevent them from becoming stiff and unusable. Water-based paints can be cleaned with warm, soapy water, while oil-based products require white spirit or a dedicated brush cleaner. Properly maintained tools will last for years and ensure consistent results across all your home improvement projects. Once your final coat is applied and fully cured, step back and admire your handiwork. Your zinc gutters should now boast a smooth, even finish that not only looks smart but also provides robust protection against the elements. Regular gutter maintenance, including periodic cleaning and inspection, will help preserve this finish and ensure your rainwater systems continue to function efficiently. With the right preparation, quality decorating supplies, and a methodical approach, painting zinc gutters is a manageable DIY task that can significantly enhance the appearance and longevity of your home's exterior.